Please make sure that you have already rendered Mazaika-Video project open.
1 - Inspect the mosaic and if needed adjust colours with Blending, Correction and Enchanced controls on the main Mazaika-Video screen.
2 - Menu - File - Export mosaic to File...
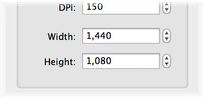
3 - Go to Movie Frame Size column at the left hand side of the panel and select the needed frame size units and resolution.
We recommend to use Units = Pixels and any DPI value.
4 - Set frame height or width.
Set height to 1080 for Full HD frames or 720 for HD Ready resolution.
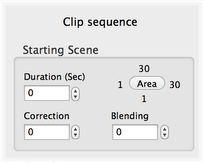
5 - Go to Clip sequence column and fill Starting scene properties.
5.1 - Press Area button at Starting Scene. It will brings up Location Select Panel. Select starting location for the exported movie clip.
5.2 - Set needed Starting Scene Duration.
5.3 - Set Correction levels for Starting Scene.
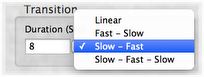
6 - Fill Transition scene properties.
6.1 - Enter transition Duration.
6.2 - Select Transition speed.
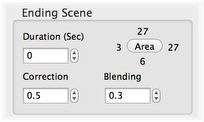
7 - Fill Ending scene properties.
7.1 - Press Area button at Ending Scene. It will brings up Location Select Panel. Select ending location for the movie clip.
7.2 - Set needed Ending Scene Duration.
7.3 - Set Correction levels for Ending Scene.
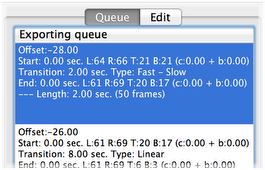
8 - Press Add clip sequence to queue. It will adds the sequence to a queue. (If you want more than one sequence in the queue - repeat steps 5 - 8 again.)
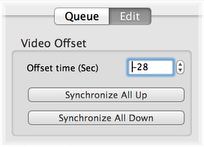
9 - Select top line in the Queue table, press Edit tab, enter or adjust Video Offset. Press Update when finish.
10 - Press Process whole queue, select file name and wait until all frames will be generated.
It may takes some time to export all video mosaic frames.
Use Movie Assembler application to compile separate video frames into movie file