This will guides you through your first mosaic building procedure. Select a main mosaic image,
select some folders with images that you want to use as tiles, select how many cells (or
rows/columns) you want in your mosaic and allow the program to build mosaic for you.
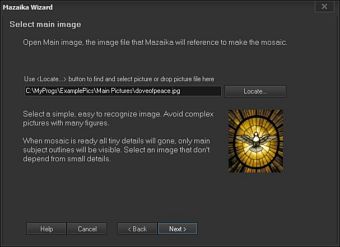
1 - Select Main mosaic image:
Please select a simple, easy to recognise image. It is better to not to use pictures with many
different objects and lot of tiny details. When the image will be turning into mosaic it may lost
some of it's smallest elements. Please select the image that will be easy to understand even if all
smaller details are blurred.
If you installed Mazaika with example pictures please see some of good main images in
Mazaika's examples folders on your computers. They are located at
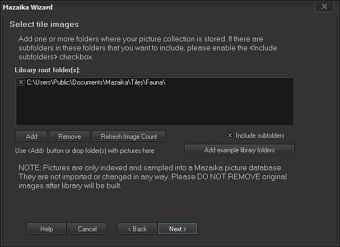
2 - Select folder(s) with tile images:
If you installed Mazaika with example pictures you may use these collections of tile images for
your first mosaic experiments - simply press Add example library folders button.
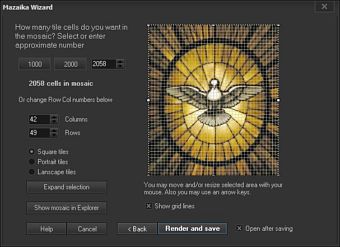
3 - Select how many cells you want in mosaic or how many rows or columns you want:
You may use two easy to access presets "1000" and "2000" to make a mosaics with 1,000 and
2,000 cells. Usually, 1,000 cells is enough for mosaic with single face. Also it is the very good
choice for mosaic that you intend to print as A3 paper size.
Alternatively you may enter the number of cells in appropriate text box. Or you may enter
numbers of columns and rows.
Press Render and save button to start the mosaic building.