Mazaika-Video Make Video Mosaic from your own clips
World's Biggest Mosaic: 33 Gigapixel Photo Mosaic

Scars of Dracula Online photo mosaic. Interactive search cells by movie names.

Barbarella from comics © Mazaika.com

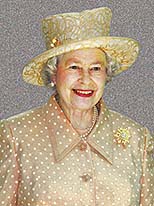
Face Britain Mosaic by Mazaika.com at Buckingham Palace

© Boris A. Glazer
Dove of Peace Mosaic

© Christer Lindh, Magnus Fröderberg, www.fotosidan.se

© Steve Grillo

Coliseum-KinoMax: Zoom and Pan Photographic Mosaic
Let a thousand flowers bloom!

Face Britain Photo Mosaic by Mazaika.com at Buckingham Palace
© Sylver Kang, www.byplot.com Mosaic Fence for City Hall of Seoul

Roy Lichtenstein photo mosaic
© Sylver Kang, www.byplot.com Mosaic Fence for City Hall of Seoul

How to make a big mosaic with unique tiles
It was a challenging project. Pixabay.com is a nice repository of public domain pictures. Lots of people submit their pictures there. They have more than 20,000 user accounts. 10,947 of these accounts have user avatar pictures. My idea was to make a mosaic from all these avatars and link each avatar picture to the corresponded user account on the site. We wanted to use all avatars and wanted to use them only once. Each picture should be unique.
So you should use all the pictures and you should use them only once. It's a very strict limit.
On the one hand, it's quite easy. To make this sort of things with Mazaika you just need to set the "Repeat" parameter to "1" which means that pictures will be in use only once. Every used picture is unique.


When you assemble this sort of mosaic you need to organize already existed tiles into some new form. It's a kind of assembling puzzles.
And like a puzzle it is very important where to start and where to place this or that piece, that is, in case of photo mosaic, the order of picture assembling is important.
There are several different order modes in Mazaika.
That's what we get when we assemble the mosaic in random order:
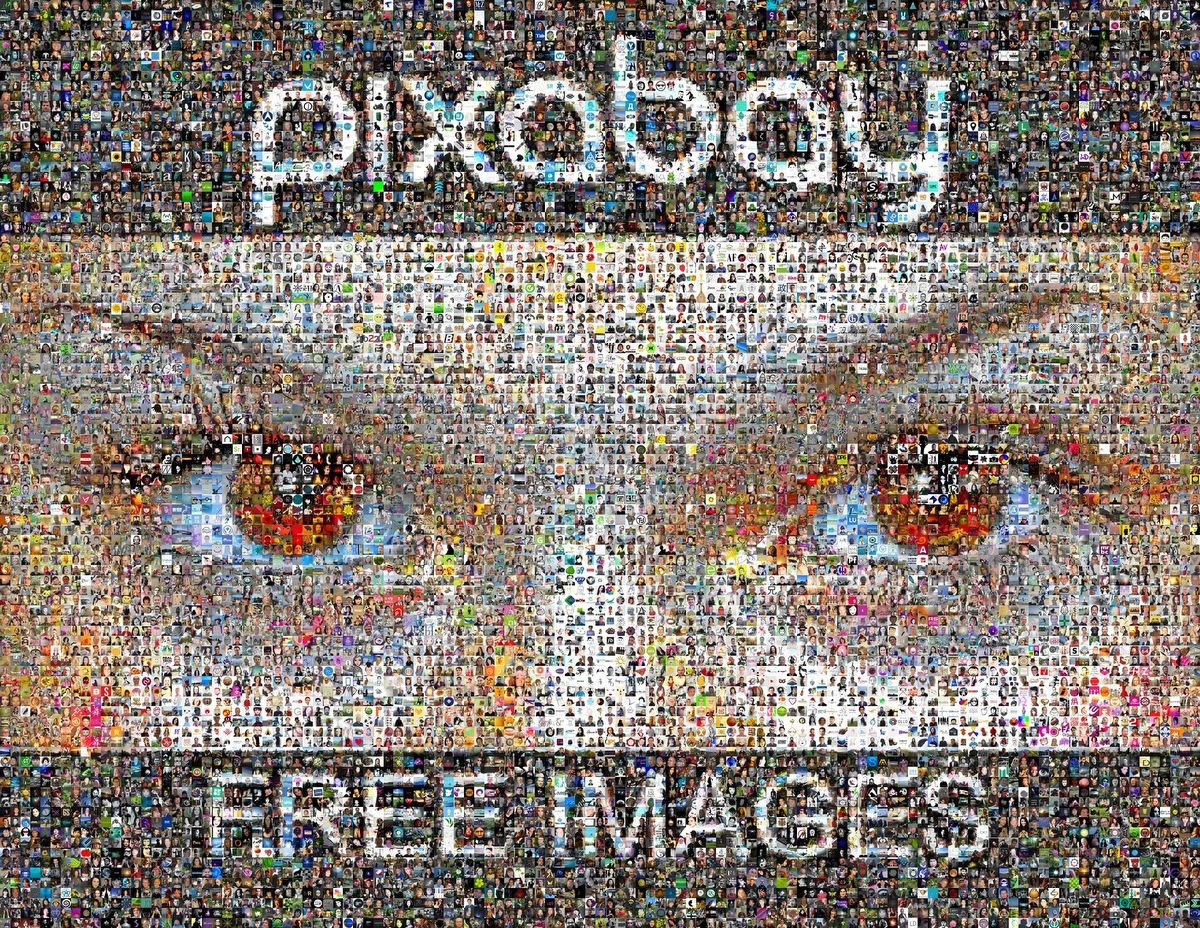
Here we use Bottom to Top mode
The Bottom part of the mosaic looks very nice but the top is very poor. We call this gradient decreasing of quality - "banding" because there are visible horizontal "bands" of the same quality over the whole mosaic. This effect is especially visible at large plain colored areas. See the very top of the mosaic, above Pixabay caption.
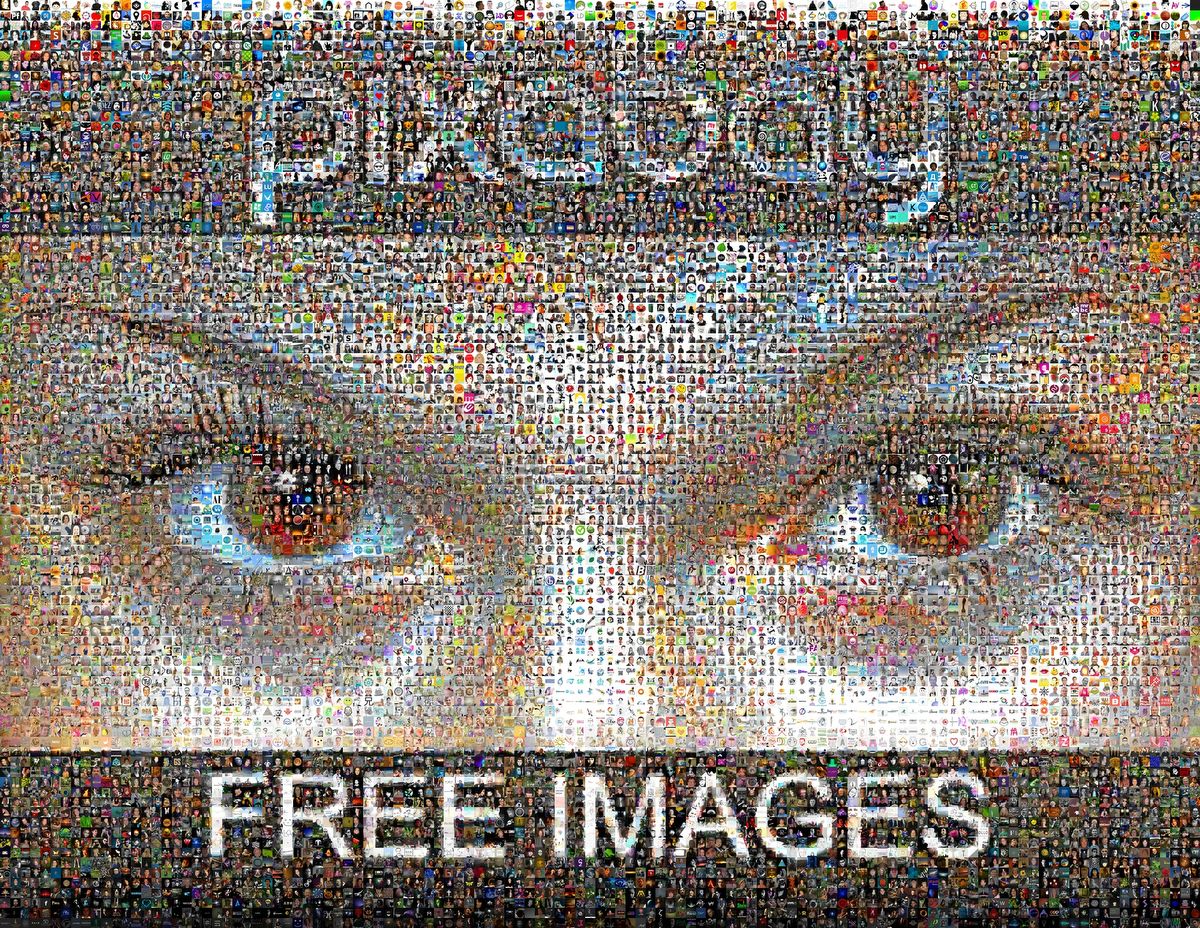
As you know Mazaika has unique "Smart" rendering order. It renders picture contours first. That's what we get:
It's almost nice. Text captions are perfect! But it seems the picture is not as good as we hoped.
Here we need to use one more unique feature of Mazaika. Rendering sequence at Mac and Mosaic Map Tool at Windows.


It allows us to designate different regions of the main image to be rendered in a specific order and in a specific mode. That how we did it:

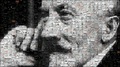
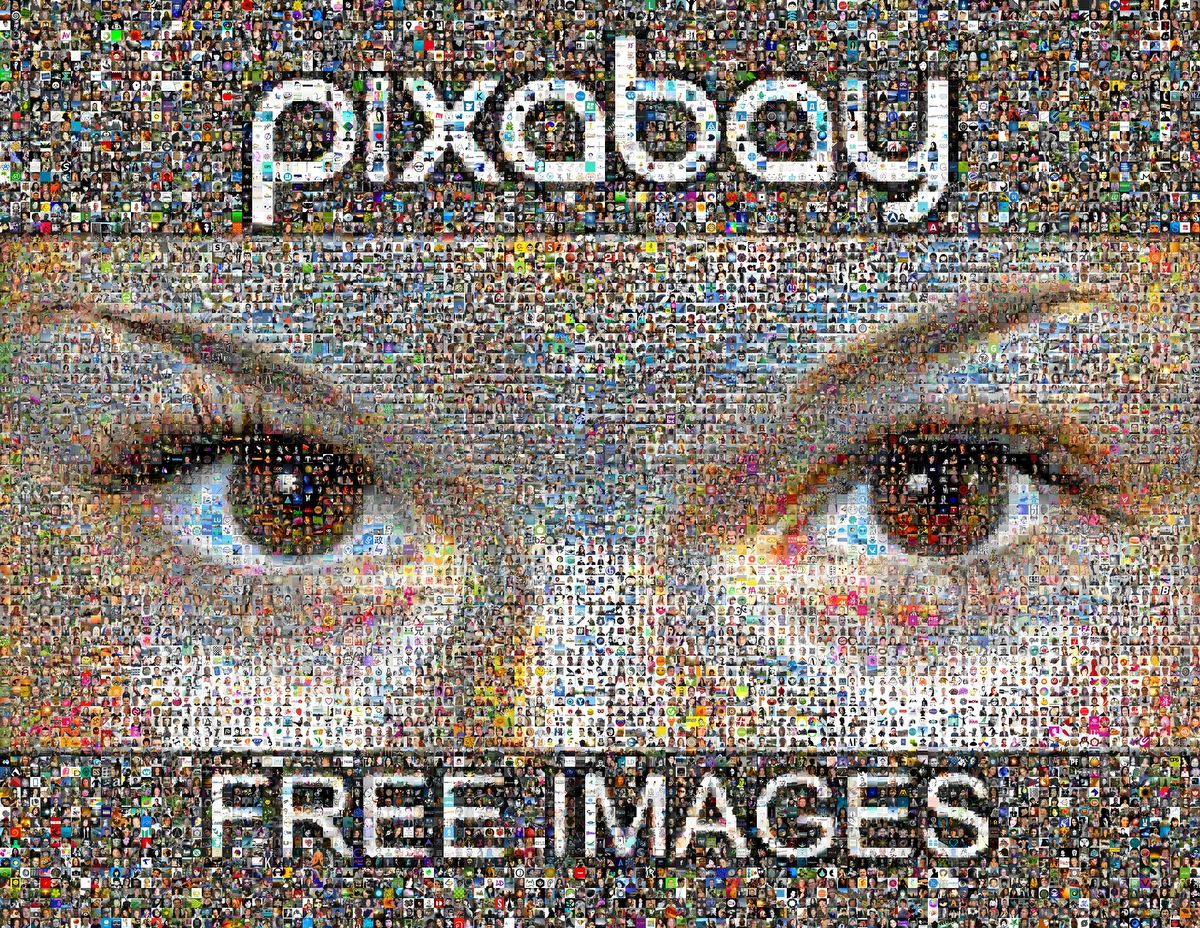
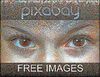
Our top priority is the eyes. We paint them with #1 color. Eyebrows are our next priority - #2. Some parts of the face between eyes and eyebrows are #3. Now we need to render the nose and forehead. These are large plane color regions. We divide them. The central part will get render order #4 and side parts will be rendered in the 5th order. As far as these are very plain colored areas we assign them to Random render to avoid "banding" effect. The two remaining black stripes with text were assigned to lower priority, #9.
Here is a result:

Very nice eyes. The text is not as sharp as we get it in Smart mode but it is quite readable. But the eyes are absolutely perfect. Please remember, these pictures are not corrected! Each cell is used as it is! This is a really true photo mosaic! Click on the image above to see the larger picture. Click on the image above to see the larger picture.
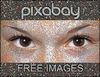
Indeed, if we would ever decide to print this mosaic we may apply some color corrections.
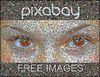
Please click on thumbs below to compare pictures:
Picture rendered with Render Sequence map and corrected


All the above is possible with Photo mosaic Mazaika software only. No other program gives you all this set of mosaic rendering controls that gives you Mazaika!